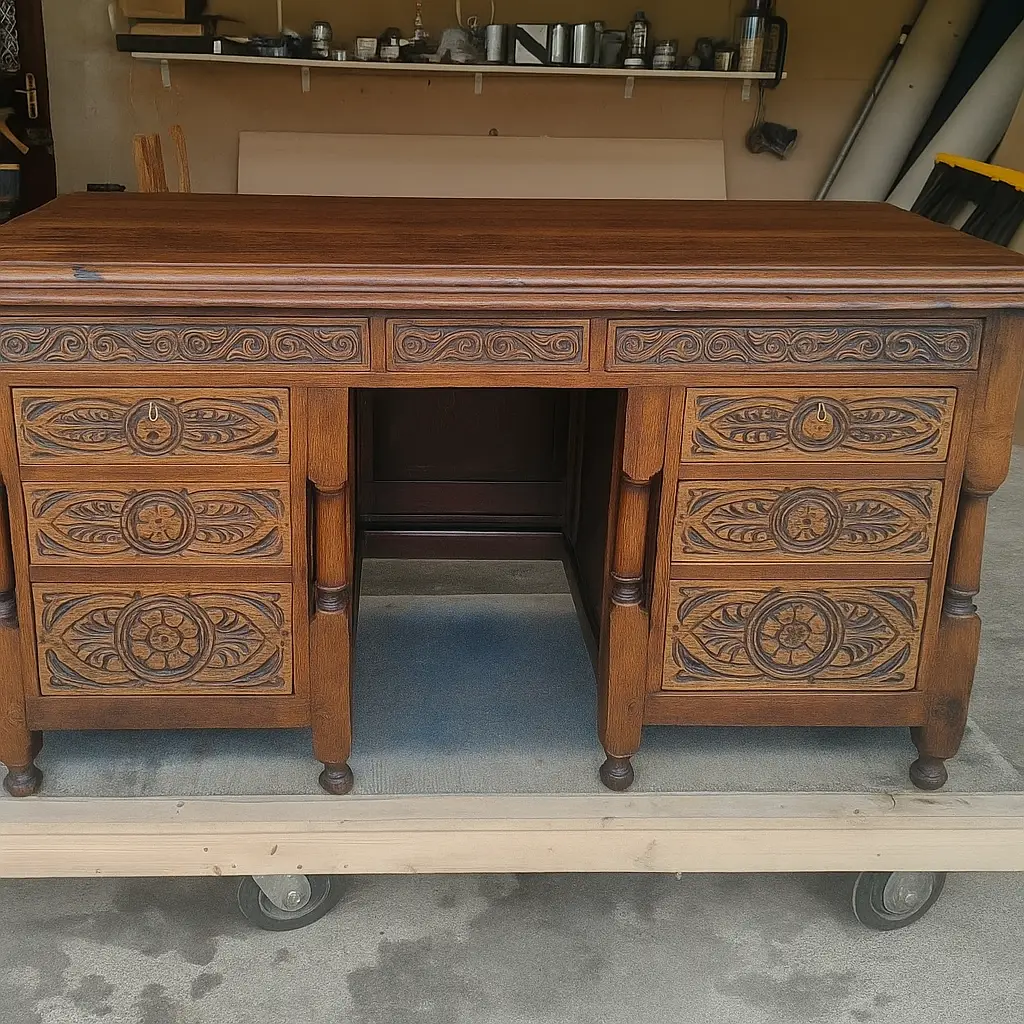
Give New Life to Old Furniture Through Refinishing
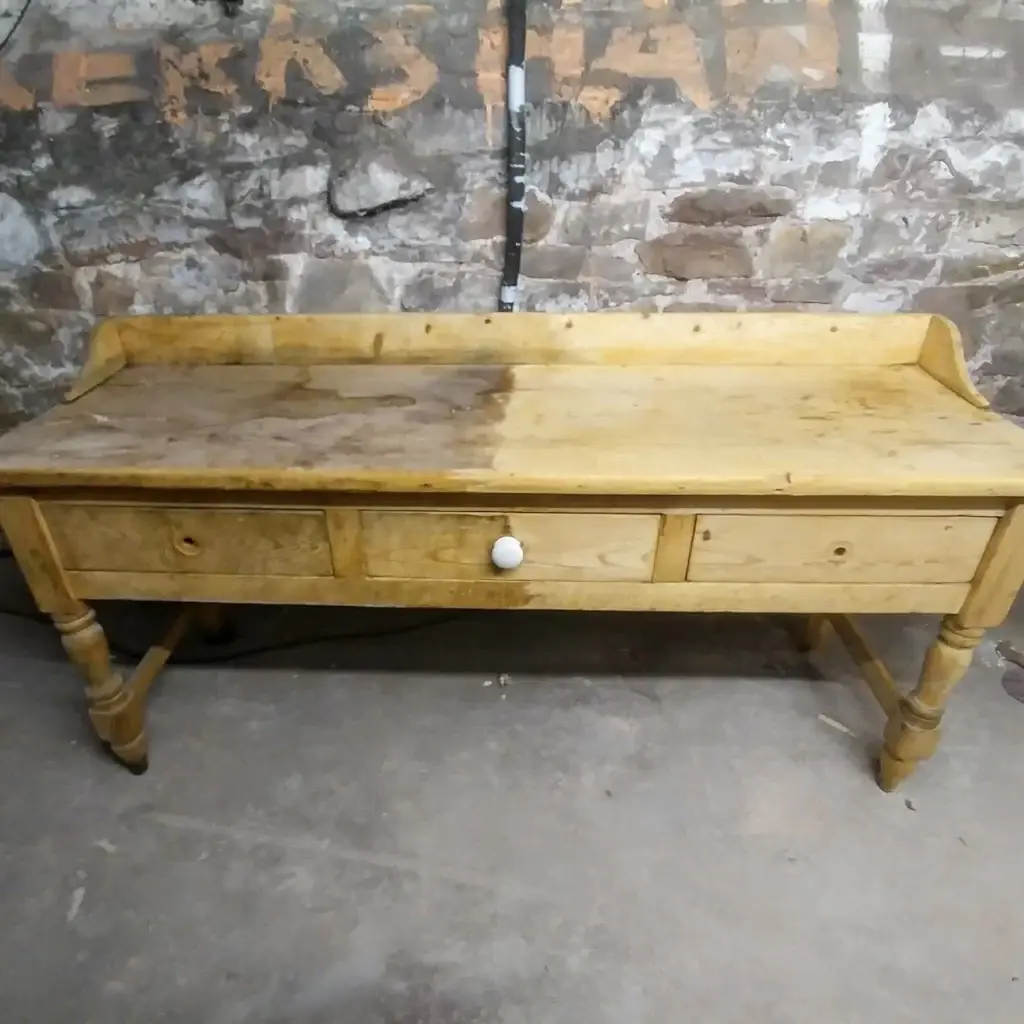
Wood Furniture Refinishing can last for generations, but it often starts to look tired after several years. Watermarks, scratches, fading finishes and outdated colours can make once-beautiful items seem dull or out of place in your home. The good news is you can bring them back to life with a bit of care, time and effort.
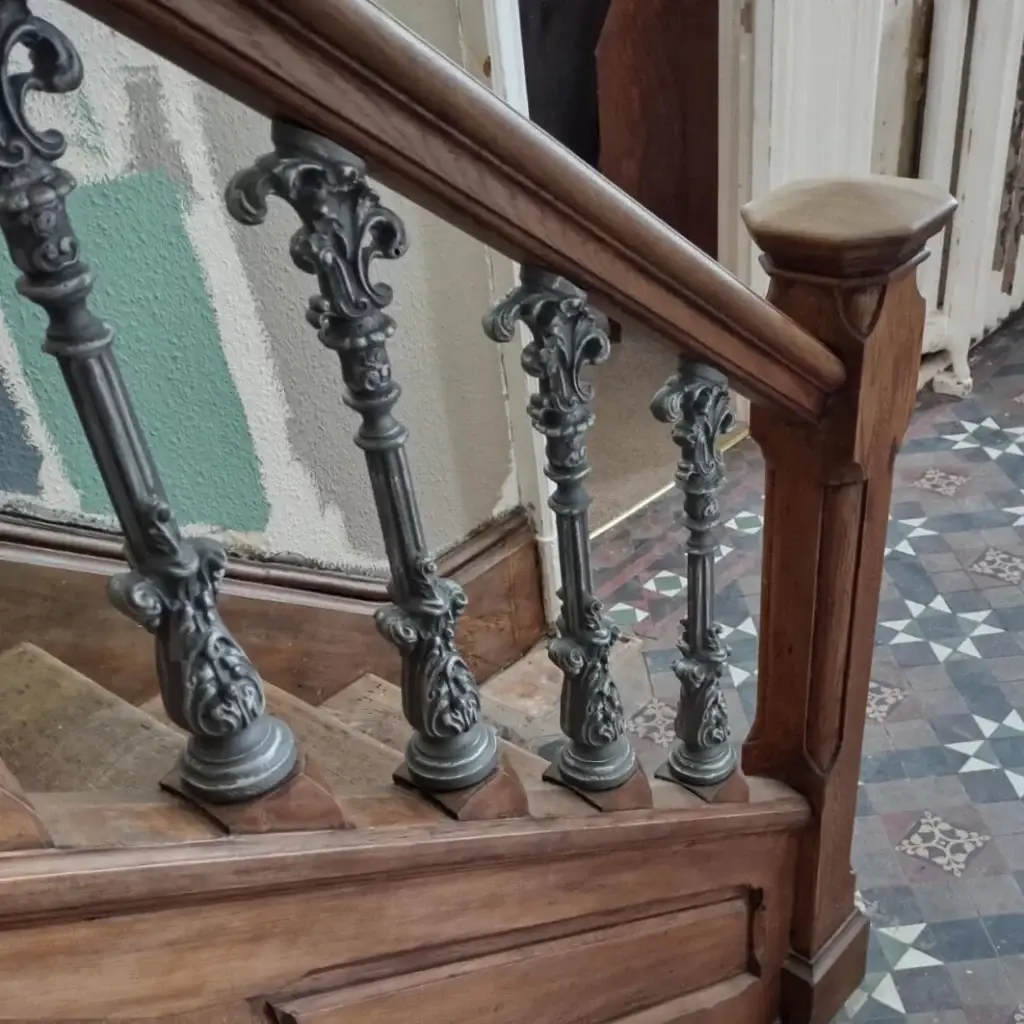
At Simons Staircase & Furniture Restoration, we have spent many years bringing beauty back to wooden furniture. Whether you’re keen to restore a family heirloom or just want to refresh a second-hand find, read on for practical tips you can use at home.
Why Refinish Instead of Replace?
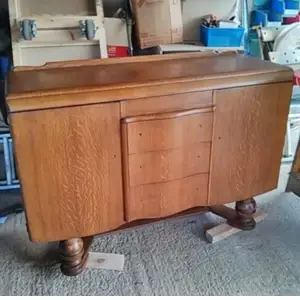
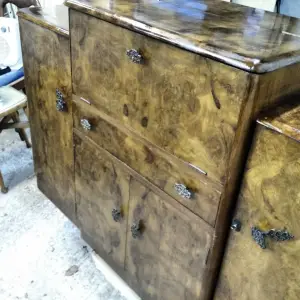
Refinishing wooden furniture allows you to keep quality pieces without paying for new replacements. Many older items are made using better wood than what’s commonly available today. Rather than sending that solid coffee table or sturdy set of drawers to the landfill, you can often restore them to even better condition than when you first got them.
Refinishing also gives you the freedom to change the look of a piece entirely. You can go from orange-toned varnish to a dark walnut wood stain, or from a glossy finish to a matte, natural feel. If you prefer painted styles, you can use chalk paint or milk paint for a modern twist.
Basic Tools and Materials You’ll Need
Before starting your project, make sure you have these essentials on hand:
- Safety gear: gloves, dust mask, goggles
- Sandpaper in several grits (generally 80, 120, and 220)
- A sanding block or electric sander
- Wood filler for dents or cracks
- Wood stain or paint
- Brushes or rags for application
- Wood sealer or finish (oil, lacquer, polyurethane)
- Screwdriver for removing hardware
You don’t need every tool on the list, especially for smaller pieces, but these basics will help you along the way.
Steps to Refinishing Wooden Furniture
Taking your time is key. Most of the effort will go into preparing the surface correctly. Here’s how we usually approach refinishing at Simons Staircase & Furniture Restoration.
1. Remove Old Finish
The first job is stripping off the old varnish or paint. We usually start with sanding unless the layer is thick, in which case a stripping gel might be needed. Be sure to work outside or in a well-ventilated area.
Start with a coarse grit (around 80) to remove the bulk of the finish, followed by medium grit (120) to even the surface, and finally, fine grit (220) to make it smooth before staining or painting.
Be gentle around curves and carvings. You might need to sand detailed areas by hand.
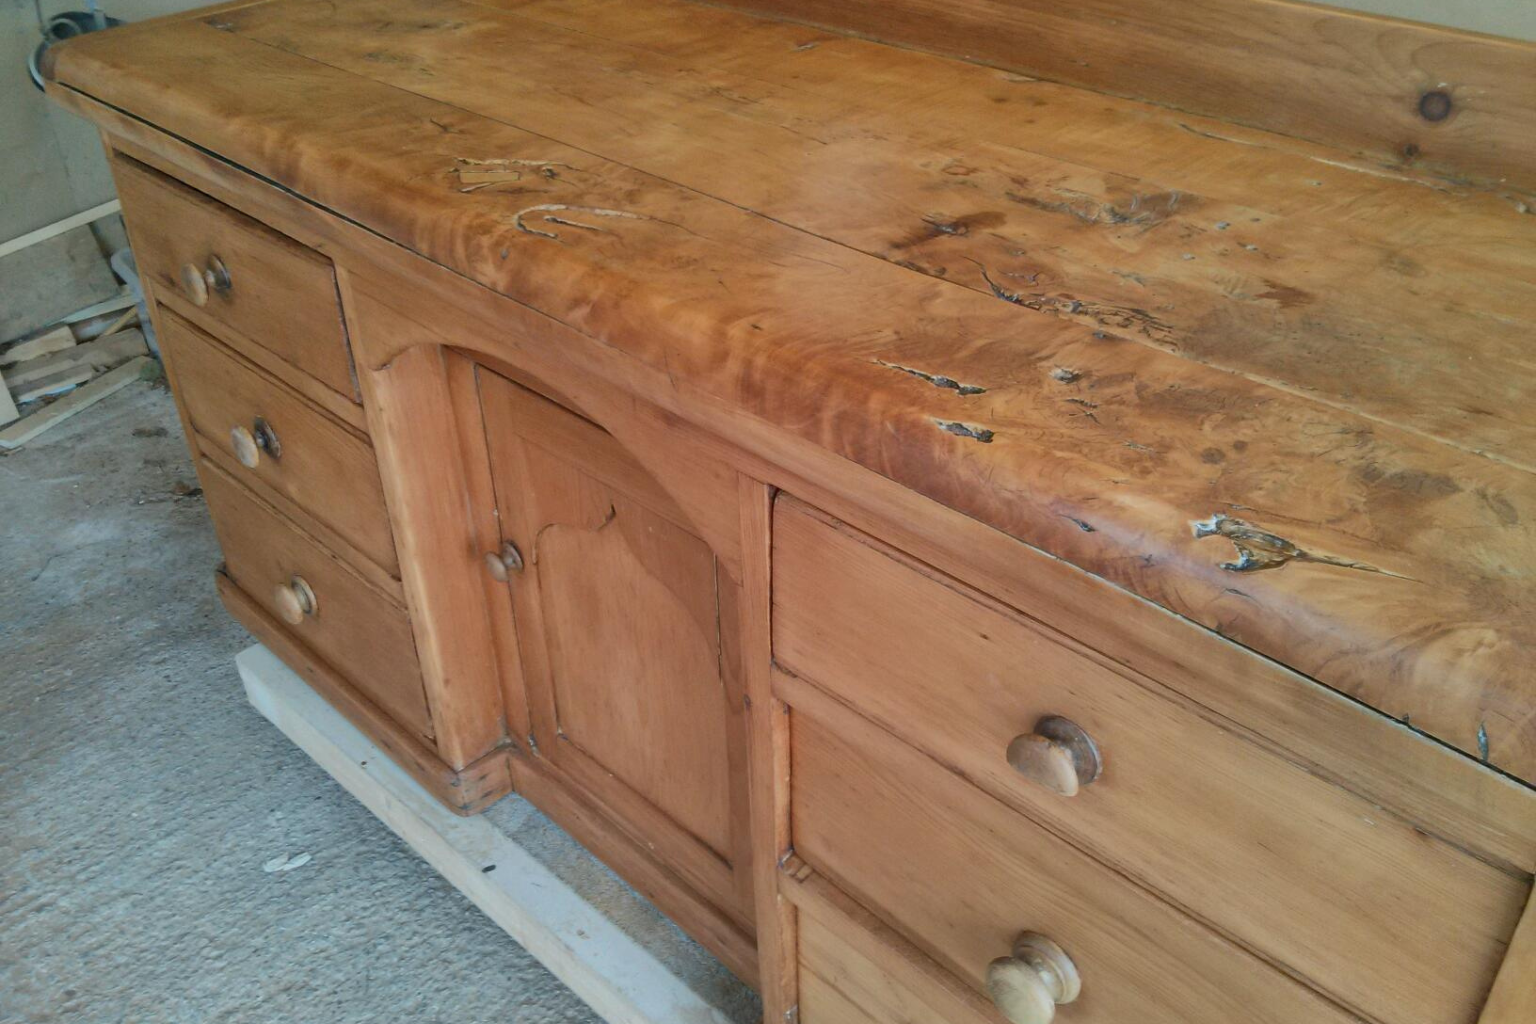
2. Fix Any Damage
Inspect the piece closely. Fill dents or holes using wood filler, and let it dry completely. If the joints are loose, you may need wood glue and clamps. Sand any repaired areas to blend them with the rest of the surface.
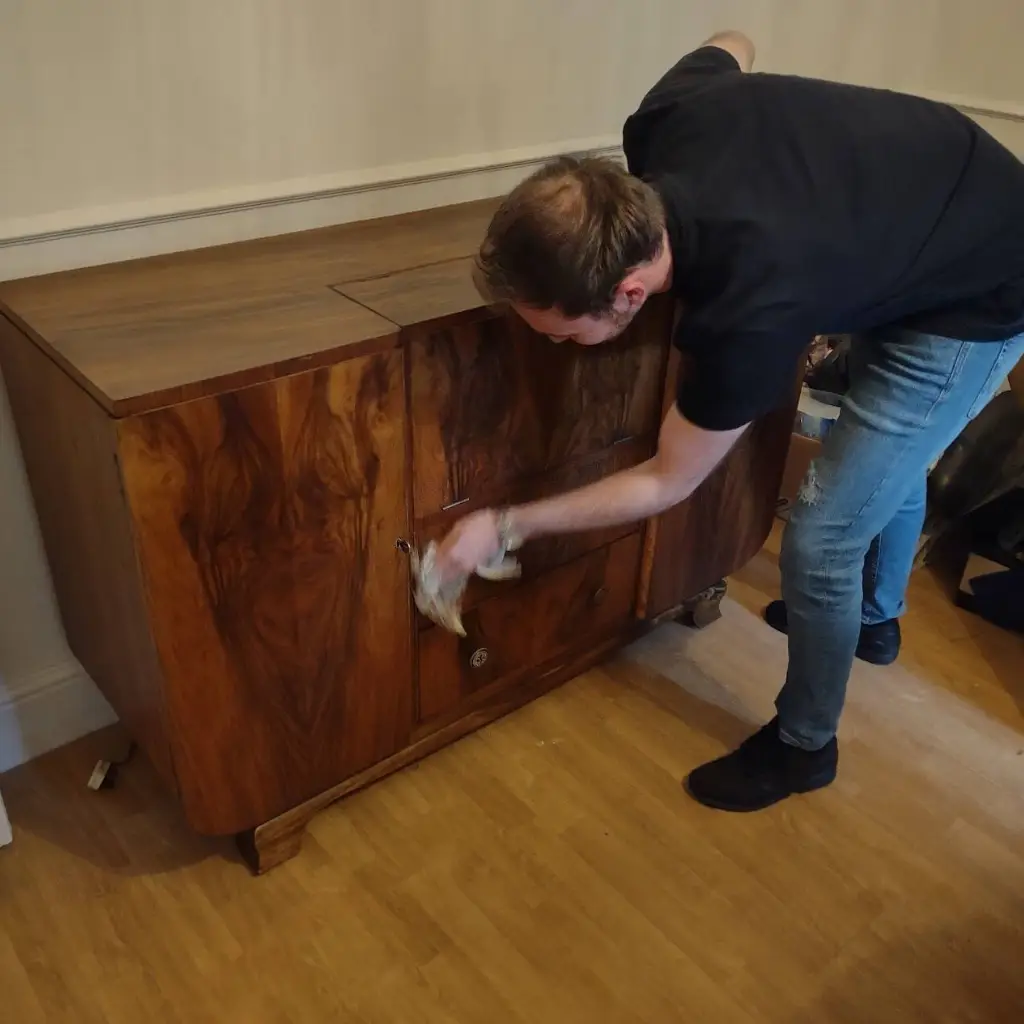
3. Apply Your Chosen Finish
Now comes the fun part. You can go with stain to deepen the colour while keeping the wood grain visible, or go bold with a fresh coat of paint for a new personality.
Use a brush or a cloth to apply the stain. Always wipe away the extra and work in the direction of the grain. Let it dry for a few hours or overnight between coats.
Once fully dry, protect the surface by adding your topcoat. Options include beeswax, oil, lacquer, or polyurethane, depending on the kind of finish you want.
Should I Refinish or Restore?
The terms ‘refinishing’ and ‘restoration’ often get confused. Refinishing often involves sanding and applying a new stain or paint, while restoring might be as simple as fixing joints and freshening the finish with polishing methods.
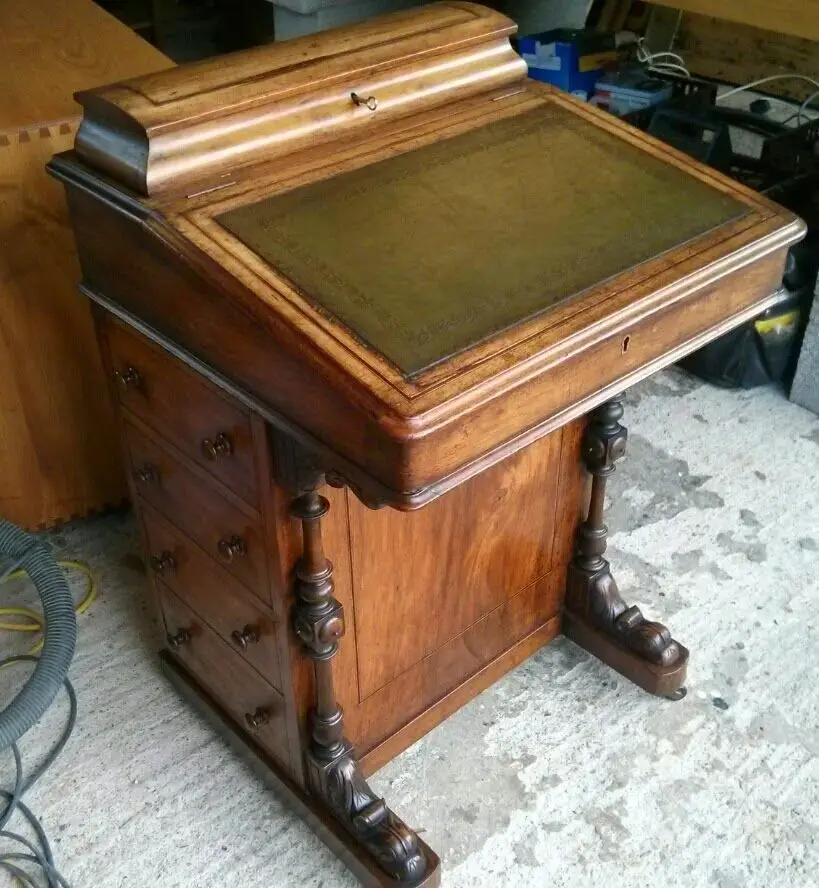
Older furniture, particularly antiques, may lose value if sanded or refinished. It’s always worth researching your piece. If it’s valuable, restoring rather than refinishing may be the smarter choice. If you’re not sure, getting help from professionals like those at Simons Staircase & Furniture Restoration can save you from costly mistakes.
Safety First When Working with Chemicals
Many wood strippers and finishes contain strong chemicals. Always work in a space with good airflow and wear gloves and a mask. Keep children and pets clear while you work and while the pieces are drying.
Painting and staining can also require patience. Rushing through drying times can cause streaks or tacky spots. Give every coat time to set properly.
Modern Styles and Design Ideas
One of the joys of refinishing is matching your furniture to your current style. What once looked too heavy and dark can become light and modern.
Scandinavian-style homes suit natural, matte finishes. Country kitchens often glow with painted tables in pale blue or soft green. Mid-century pieces can be stripped and oiled to showcase clean lines and rich teak or walnut grains.
Want something different? Complement the restored wood with modern metal handles or leave drawer fronts bare and simple. At Simons Staircase & Furniture Restoration, we’ve helped many customers pick unique finishes that really stand out.
Common Mistakes to Avoid
While refinishing can be satisfying, there are common errors beginners often make.
- Skipping prep: Always clean the surface and remove grease or wax before sanding.
- Using the wrong grit: Too coarse and you’ll scratch the wood; too fine and the stain won’t soak in well.
- Not testing first: Always test your stain or paint on scrap wood or a hidden area.
- Rushing the process: You need to let each coat dry completely, or you may end up with a sticky mess.
- Ignoring grain direction: Always sand and apply finishes in line with the wood grain.
Taking the extra bit of time now often saves rework later.
FAQs
Can all wood furniture be refinished?
Most solid wood furniture can, but veneers and particle board are trickier. Veneers can be sanded very gently, but they’re thin, so caution is key.
What’s the easiest wood finish for beginners?
Oil finishes like Danish or tung oil are simple to apply and forgiving. They enhance the natural wood without needing a brush-on topcoat.
Do I need to remove all the old stain before refinishing?
If you’re resting, yes. But if you’re painting, you may only need a light sanding for better paint adhesion.
How long does refinishing furniture take?
Depending on the complexity, expect to spend a day or two on smaller pieces. Drying times are important, so factor that in.
Where can I get help if it’s too much for me to handle?
If your project becomes overwhelming, you can always reach out to Simons Staircase & Furniture Restoration for support or professional help in cleaning, stripping, or veneering.
Breathe New Life into Your Wooden Furniture
Giving a tired wooden table, chair or dresser a refreshed finish can be one of the most satisfying DIY projects. With some basic tools, a good plan and patience, almost anyone can bring new character to their furniture.
It’s not just about saving money, either. Restoring wooden furniture can help reduce waste, preserve quality craftsmanship and give you something unique that no one else has.
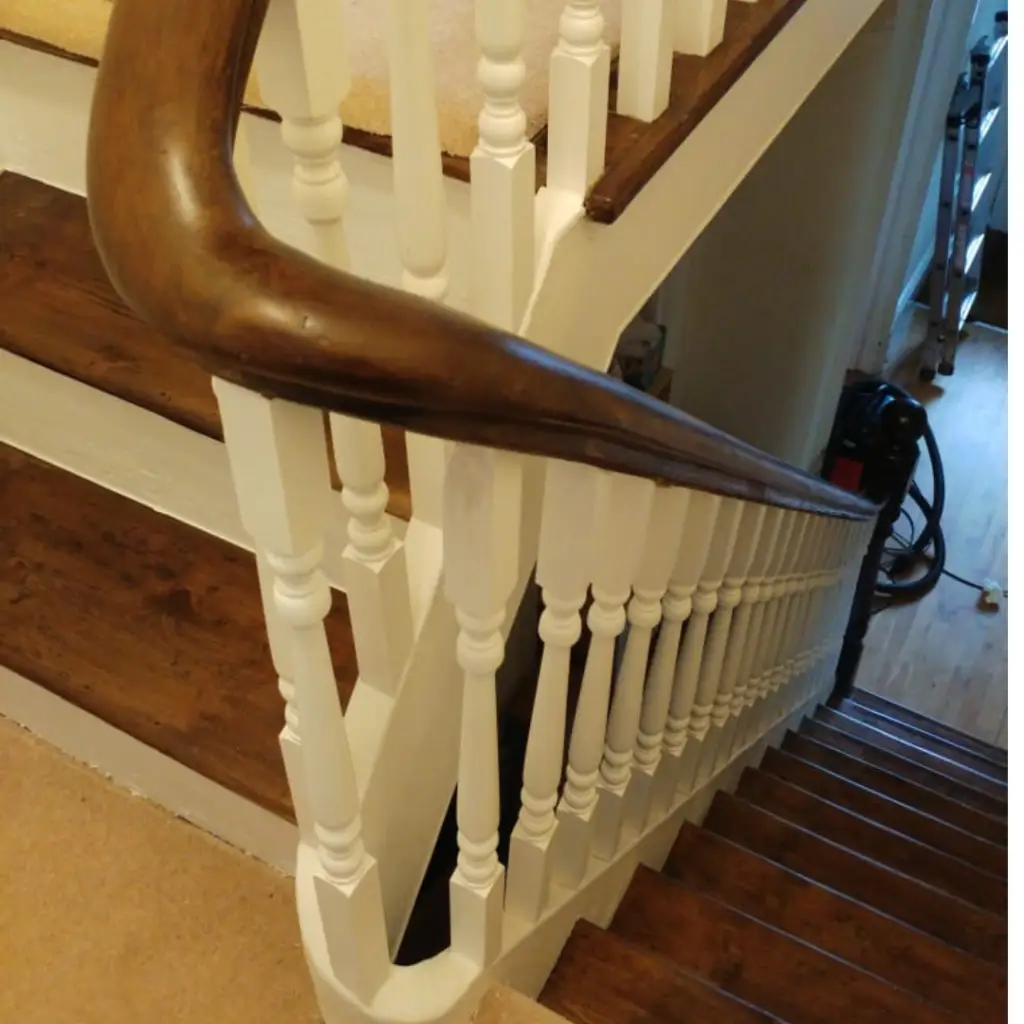
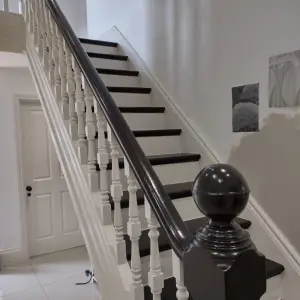
If you’d rather save time or want superb results from the start, the team at Simons Staircase & Furniture Restoration are always ready to help. We’ve handled everything from antique sideboards to full wooden staircases, and we’d love to work with you.
Start planning your refinishing project today, or get in touch with us for advice, services or a quote that suits your needs.