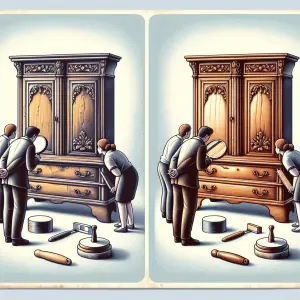
Furniture Refinishing Techniques: From Start to Finish
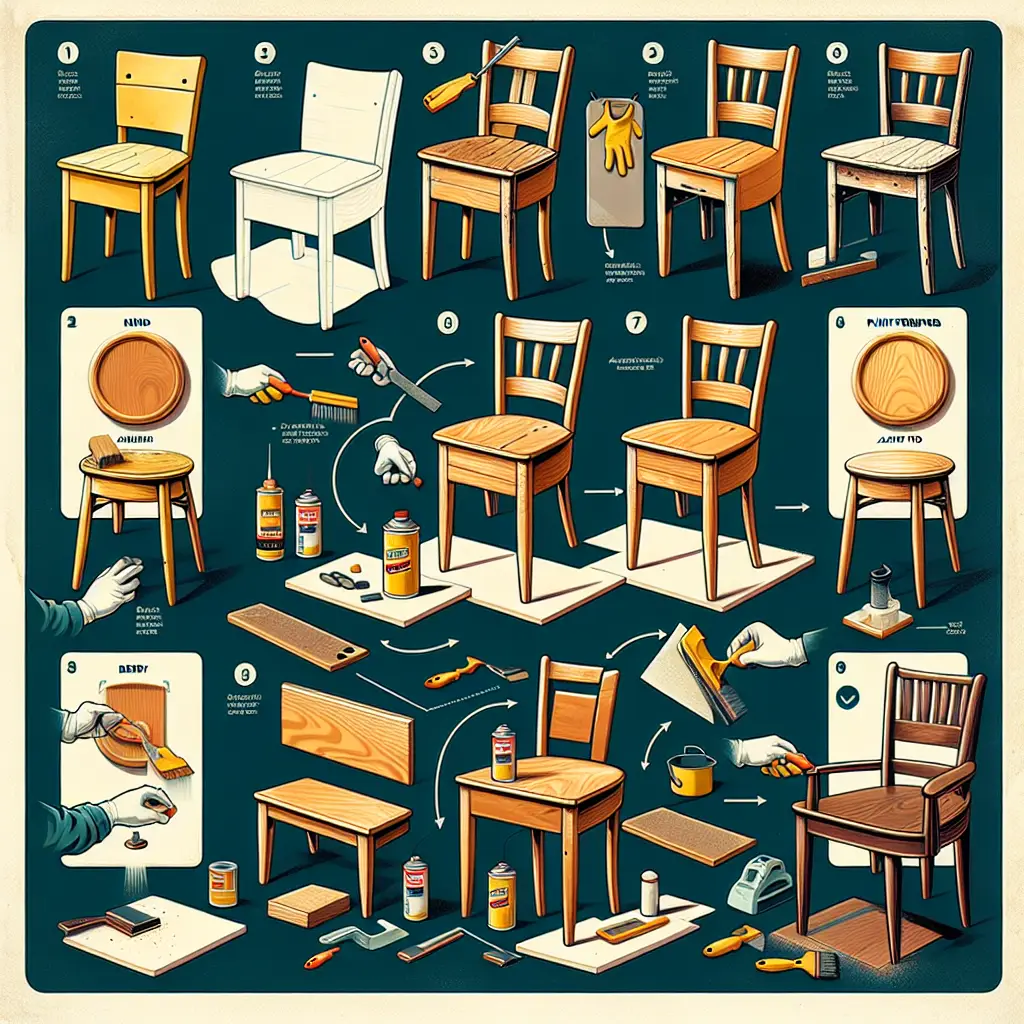
Refinishing furniture is an art that involves multiple steps aimed at restoring and enhancing the appearance and longevity of your cherished pieces. This guide will walk you through each stage of the process, offering techniques and tips to ensure your furniture looks as good as new.
Step 1: Cleaning the Furniture
The foundation of any furniture refinishing project is a thorough cleaning. Decades of dirt and grime can mask the original finish, so it’s essential to remove these contaminants.
- Cleaning Solution: Use a mild soap solution such as liquid Ivory dish soap mixed with water.
- Application: Gently scrub the surface with a sponge. For intricate areas like carvings and mouldings, a paintbrush can prove invaluable.
- Rinsing: Rinse the surface with clear water and dry it with a clean towel.
Step 2: Assessing and Removing the Old Finish
Depending on the furniture’s condition, you may need to remove the old finish to proceed.
Methods for Removing the Old Finish
- Chemical Strippers: Highly effective but messy. Choose between liquid, semi-paste, or gel-based options. Apply the stripper evenly and let it sit as per the manufacturer’s directions (usually 30 minutes to an hour). Use a putty knife or plastic scraper to remove the old finish. Ensure you wear protective gear such as gloves and eyewear.
- Heat Guns and Sanding: Ideal for those who avoid chemicals. Though heat guns can be slow, they are a viable alternative. Sanding is labour-intensive; start with coarse grit sandpaper and progress to finer grits for a smooth finish.
- Non-Stripping Method: If the existing finish is still in good condition, forgo stripping and proceed with cleaning and minor repairs.
Step 3: Repairing the Furniture
Once the old finish is removed or cleaned, inspect the furniture for damages like scratches, dents, and cracks.
- Materials: Use wood glue, epoxy, or gel stain to match the original colour and grain pattern.
- Techniques: For precise repairs, use self-adhesive sandpaper on tongue depressors or craft sticks to avoid damaging the surrounding finish.
Step 4: Sanding and Smoothing
Sanding is a crucial step that ensures a smooth, even surface.
- Initial Sanding: Begin with coarse grit sandpaper (60-80 grit) to remove any residual old finish or imperfections.
- Intermediate Sanding: Progress to medium grit (120-150 grit).
- Final Sanding: Finish with fine grit (220-400 grit) for a polished surface.
- Dust Removal: Use an air compressor or a vacuum cleaner followed by a tack cloth to remove all dust from the surface.
Step 5: Staining or Painting
If you wish to alter the wood’s colour, apply a stain. There are several types to consider:
- Oil-Based Stains: Penetrate deeper into the wood but are harder to clean up.
- Water-Based Stains: Easier to clean but may not penetrate as deeply.
- Gel Stains: Thicker and easier to control. Can be removed with mineral spirits before they dry.
For a more uniform look, you can blend two colours of stain to balance light and dark areas. Use an artist’s brush to replicate the grain pattern if necessary.
Step 6: Applying a Finish
To protect the wood and enhance its appearance, apply a finish. Here are the options:
- Surface Coatings: Polyurethane, lacquer, or shellac that lay on top of the wood’s surface.
- Oil Finishes: Tung oil, linseed oil, or other oils that penetrate the wood.
- Wax Finishes: Clear wax adds a soft, lustrous glow.
- Wipe-On Varnish: Easy to apply and allows for control over the sheen level.
Application Method: Use a clean rag in a swirling motion, following the direction of the grain. Wipe off any excess finish and let it dry overnight.
Step 7: Final Touches
Once the finish is dry, inspect the furniture for any areas needing touch-ups. If the sheen of the patch doesn’t match the rest of the wood, apply a coat of wipe-on finish to even it out. For added protection and lustre, you may add a final coat of wipe-on gel finish or polyurethane.
Additional Tips
- Lead Paint Testing: When working with vintage furniture, always test for lead-based paint using a lead test kit.
- Dust Removal: Dust is the enemy in woodworking. Use an air compressor or vacuum cleaner followed by a tack cloth to ensure the surface is dust-free.
- Using Gel Stain: Gel stain is versatile and can restore colour without stripping the old finish. It is thicker and easier to control, and can be removed with mineral spirits before it dries.
| Step | Key Actions | Tools Needed | Time Required |
|---|---|---|---|
| Cleaning the Furniture | Use mild soap solution, gently scrub and rinse. | Sponge, Paintbrush, Towel | 1-2 hours |
| Removing Old Finish | Choose among chemical strippers, heat guns, or sanding. | Putty Knife, Plastic Scraper, Sandpaper, Heat Gun | 3-5 hours (varies) |
| Repair | Fix scratches, dents, and cracks. | Wood Glue, Epoxy, Gel Stain, Sandpaper | 1-3 hours |
| Sanding | Use coarse to fine sandpaper for smooth finish. | Sanding Blocks, Power Sanders, Tack Cloth | 2-4 hours |
| Staining/Painting | Choose oil-based, water-based, or gel stains. | Stain, Artist’s Brush | 1-2 hours |
| Applying Finish | Apply polyurethane, oil, wax, or wipe-on varnish. | Clean Rag, Swirling Motion | Overnight drying required |
| Final Touches | Inspect and apply any additional coats if needed. | Wipe-On Finish, Gel Finish, Polyurethane | 1-2 hours |
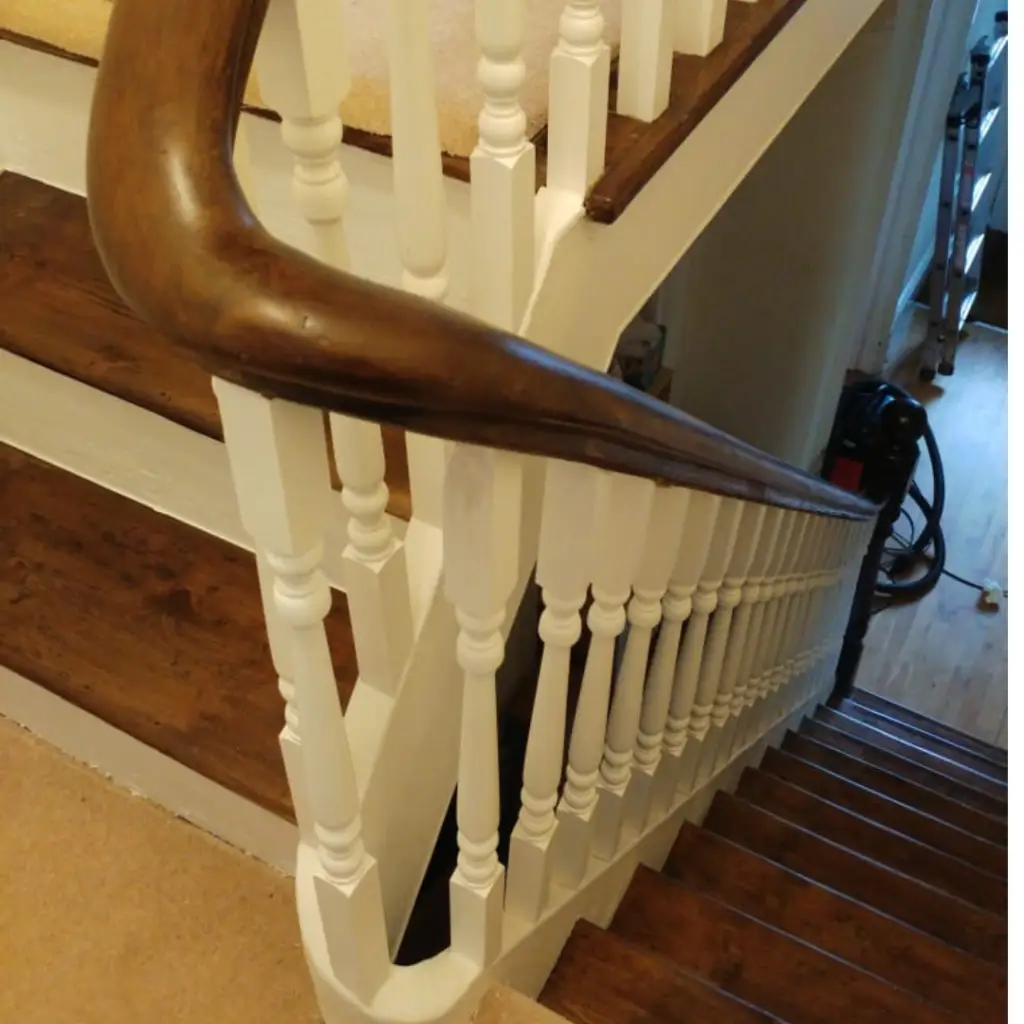
Simons Staircase & Furniture Restoration
Whether taking a DIY approach or seeking professional assistance, following these structured steps ensures high-quality results. Professionals like those at Simons Staircase & Furniture Restoration likely adhere to these principles, restoring each piece with meticulous attention to detail.
FAQs
What type of finish is best for high-traffic furniture?
For high-traffic furniture like dining tables, a surface coating such as polyurethane is ideal due to its durable and protective qualities. It can withstand daily wear and tear more effectively than oil finishes, which penetrate but offer less surface protection.
How can I restore colour without stripping the old finish?
Gel stain is a versatile solution for restoring colour without stripping the old finish. Its thicker consistency makes it easier to control and can be removed with mineral spirits before it dries, offering flexibility and precision.
What should I do if the furniture has lead-based paint?
Testing for lead-based paint is crucial when working with vintage furniture. If lead paint is detected, it’s advisable to seek professional help to safely remove and dispose of it. Lead is hazardous, especially in dust form, so don’t take any risks with DIY removal.